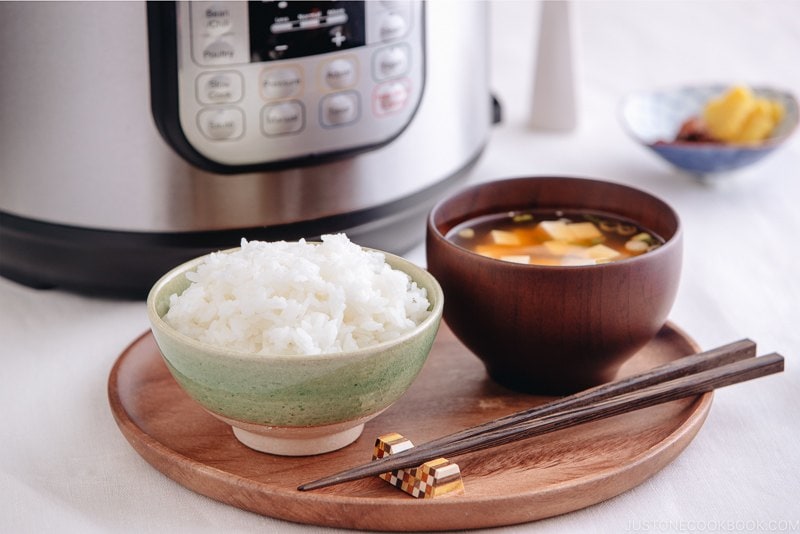
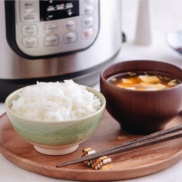
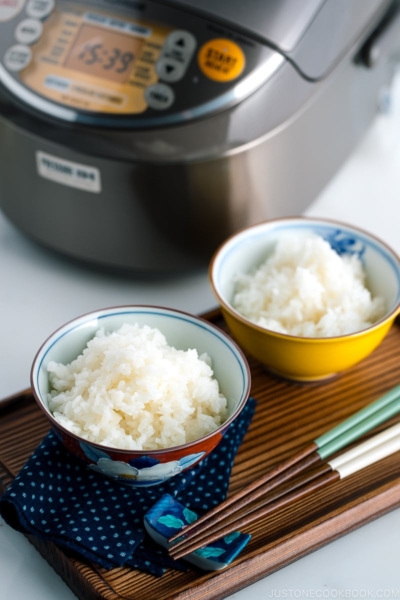
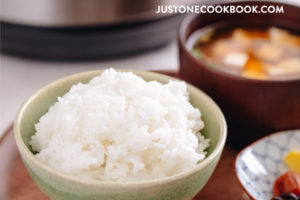
Have you ever tried making steamed Japanese rice in an Instant Pot? This post will teach you an easy, foolproof method for cooking perfectly plump and shiny white rice every time using this popular electric pressure cooker!
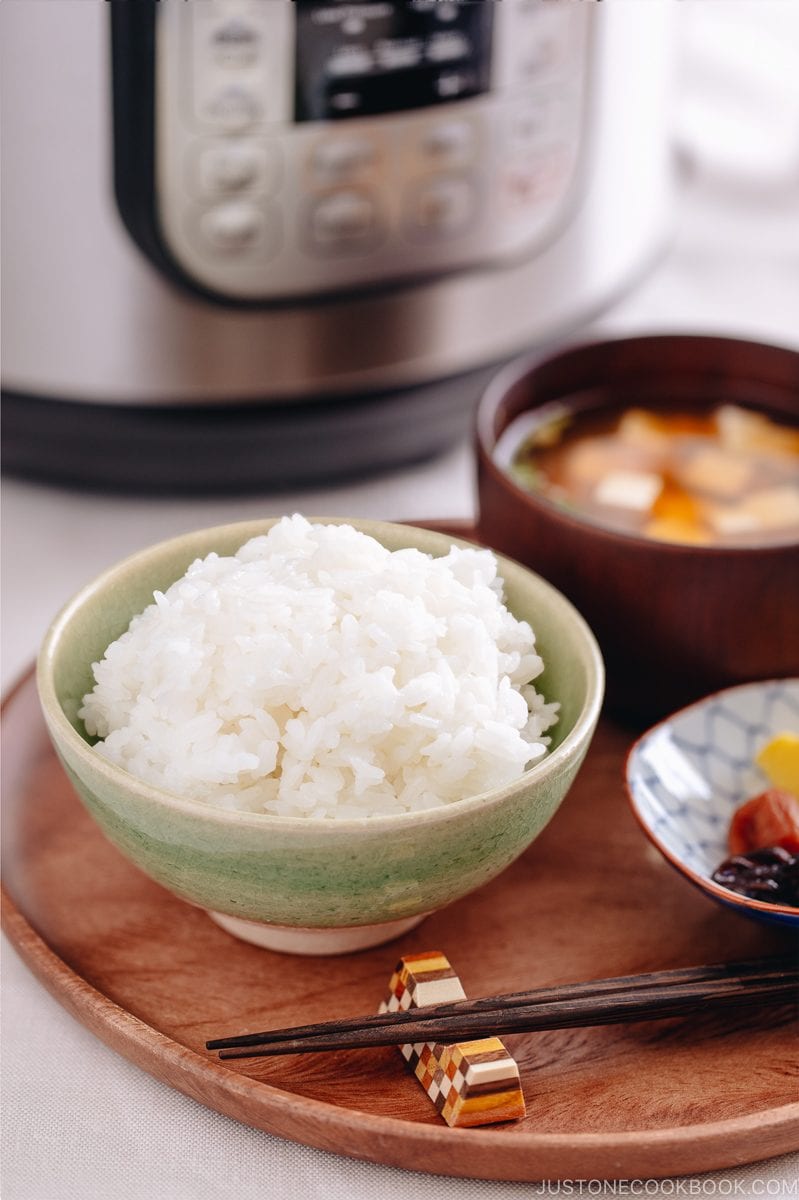
Steamed rice is an essential part of a Japanese meal. If you don’t own a rice cooker but have an Instant Pot, you can definitely use this smart device to make rice. Today, we’ll go over how to make rice in an Instant Pot, along with some important tips I’ve learned from my experiments.
Table of Contents
The 3 Dilemmas of Making Rice with the Instant Pot
Before I dive into the Instant Pot rice recipe, I want to explain why it took me so long to share this post. If you’ve followed my blog for a while, you probably know that I’ve had my Instant Pot for some time and love using it to make various dishes.
So, why haven’t I used my favorite Instant Pot to cook steamed rice? Here’s why I had avoided it until now:
1. The rice sticks to the bottom of the inner pot.
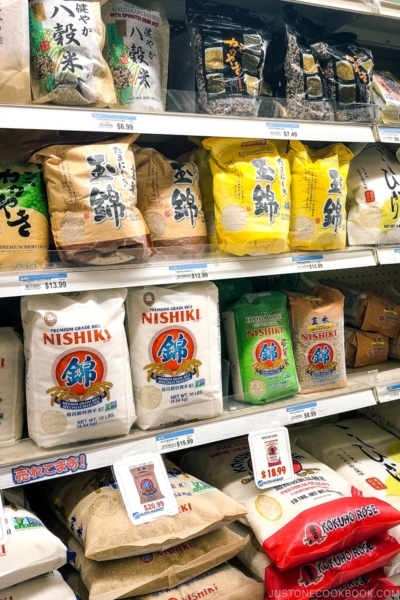
Having shiny, slightly sweet, plump, and delicious Japanese rice is a true comfort and luxury for me, so I’m willing to spend a little more on short-grain Japanese rice from Japan (I currently enjoy rice from the Kyushu region). When I heard others mention rice sticking to the pot, I decided I wouldn’t cook my precious rice in the Instant Pot. Not a single grain of rice goes to waste in my house.
2. The Instant Pot is for the main dish.
Since I primarily use the Instant Pot to cook main dishes, it’s not feasible to use it for rice at the same time—unless I use two Instant Pots for this purpose.
3. My Zojirushi rice cooker does an amazing job.
A rice cooker is an essential appliance in Japanese households. My Zojirushi Induction Heating Rice Cooker makes perfect rice every time, and I can even schedule the cooking time so the rice is always ready for dinner. That’s another reason I didn’t feel the need to use my Instant Pot for cooking rice.
Finally, the Testing
For the past three years, I’ve received numerous requests from readers wanting to learn how to make perfect Instant Pot rice. Some of you even wrote me personal emails, which made me feel I had to give it a try. After all, if I could save hundreds of people from wasting their rice, it’s worth the effort.
Please note: Different types of rice—such as jasmine, basmati, long-grain, medium-grain, wild, and brown rice—have unique characteristics, so we can’t cook them the same way. The rice I’m using in this recipe is Japanese short-grain rice.
Also, 1 cup of rice (240 ml) yields roughly two servings or 2⅓ cups of steamed rice.
For standard steamed rice, we don’t flavor the rice with chicken broth or salt. The only exception is when cooking brown rice, we do add a tiny bit of salt.
I’ve tried two methods:
- Manual pressure cooking with different time periods and natural release timing.
- The preset “Rice” mode on the Instant Pot.
5 Most Important Tips to Make Japanese Rice in the Instant Pot
From my experience in cooking Japanese short-grain rice in my Instant Pot (pressure cooker), I learned 5 important tips. Here are my findings:
1. Soak rice for 20 minutes.
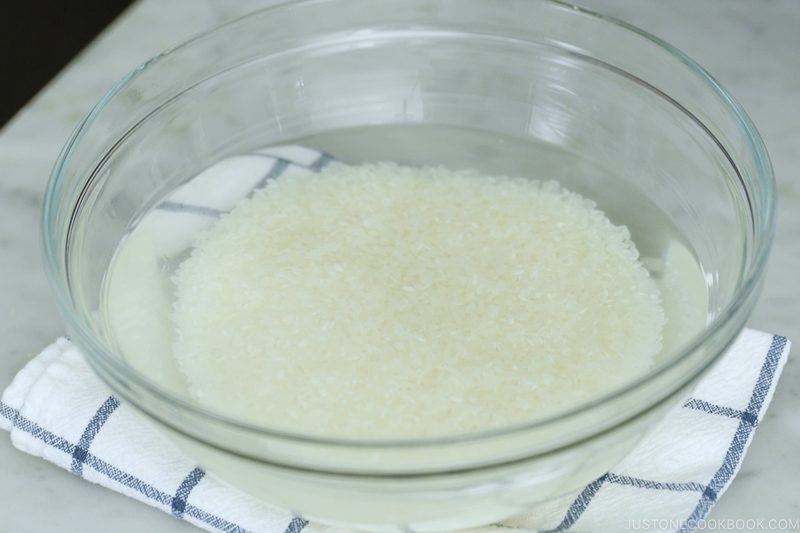
After you rinsed the rice, I tried both soaking rice and skipping soaking rice prior to cook rice in the Instant Pot. Whether it’s cooked in manual mode or “Rice” mode, when I didn’t soak rice, it did not become tender all the way through.
This is probably the only difference between cooking other types of rice. I often get asked why we need to soak Japanese short-grain rice. Unlike the other types of rice, Japanese short-grain rice is plump, and it takes time for the moisture to go through. Therefore, we always soak the rice first, giving the dry rice a head start in absorbing moisture.
2. Drain rice really well.
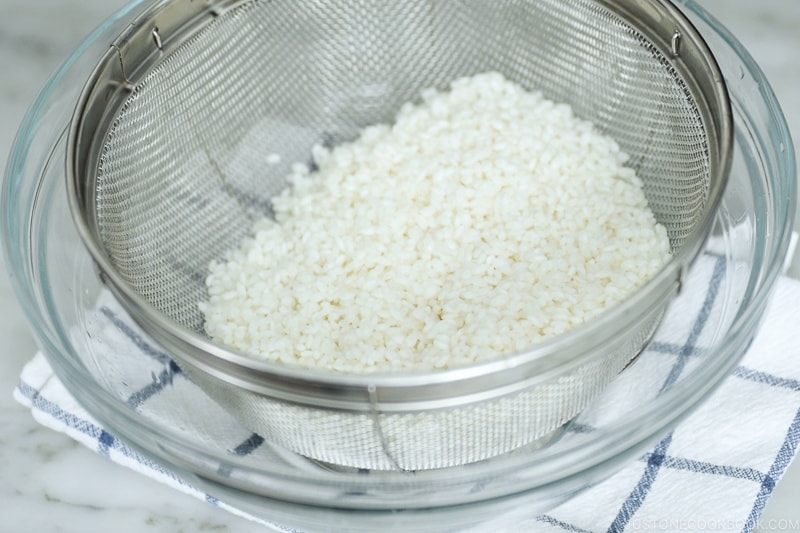
After soaking the rice in water, drain the rice into a fine-mesh strainer and make sure that the rice has no excess water left. If you don’t drain it well, you actually end up with more water while cooking the rice.
3. The ratio of water to rice is 1 to 1.
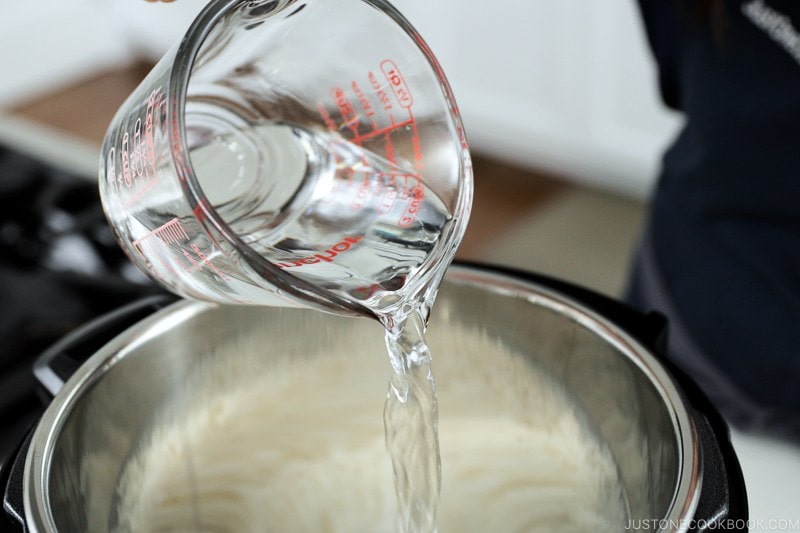
The golden rule for the ratio of Japanese short-grain rice to water is 1 to 1.1 or 1.2. So for 1 rice cooker cup (180 ml, 150 g), you will need 200 ml water.
However, when the rice is cooked in the Instant Pot, the steam does not escape from the pressure cooking (less evaporation). Therefore, the best water ratio is one to one: 1 cup of rice to 1 cup of water, or 1 rice cooker cup (180 ml) of rice to 180 ml of water.
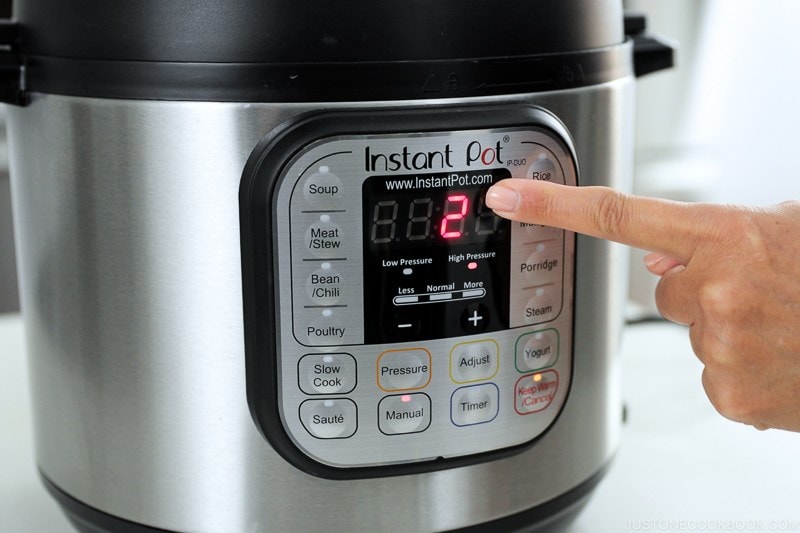
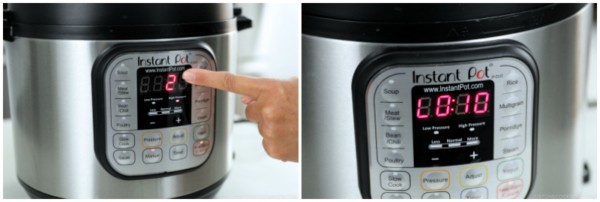
4. Cook at high pressure for 2 minutes.
After testing a few different variations, the best cooking time for short-grain rice is 2 minutes on high pressure. I’ve also tried using the “Rice” mode on the Instant Pot, which is set to 12 minutes on low pressure. As both manual and “Rice” mode takes 5 minutes to pressurize, “Rice” mode takes an extra 10 minutes to cook.
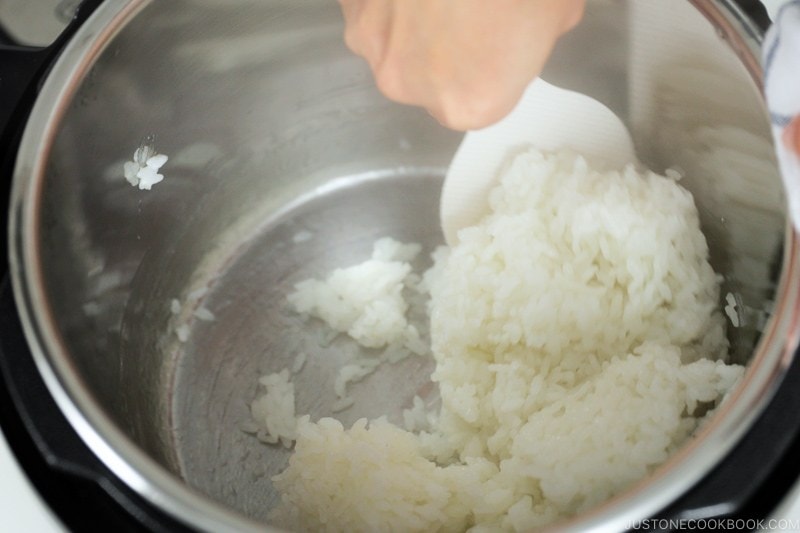
5. Natural release for 10 minutes and then release the pressure.
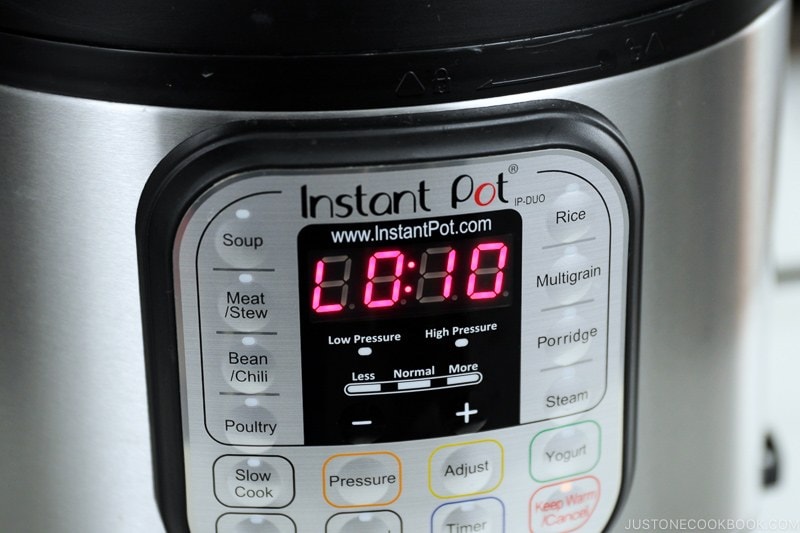
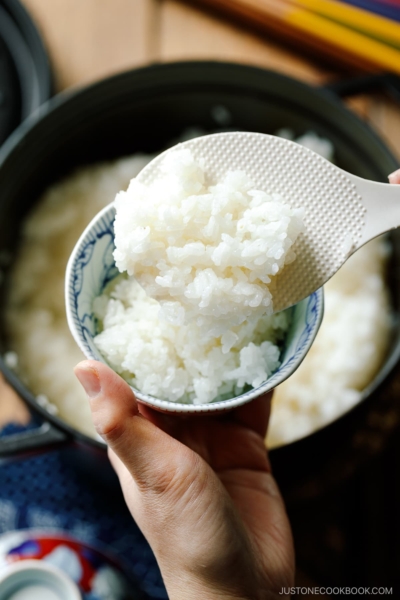
Because we do not want a “mushy” texture for rice, we must release the pressure from the Instant Pot after 10 minutes. The rice is still being cooked during this natural pressure release stage, but 10 minutes is plenty of time for the rice to finish cooking. After 10 minutes, there is not much pressure left, so you don’t need to worry about releasing the pressure. Don’t forget to fluff the rice with a rice paddle or fork.

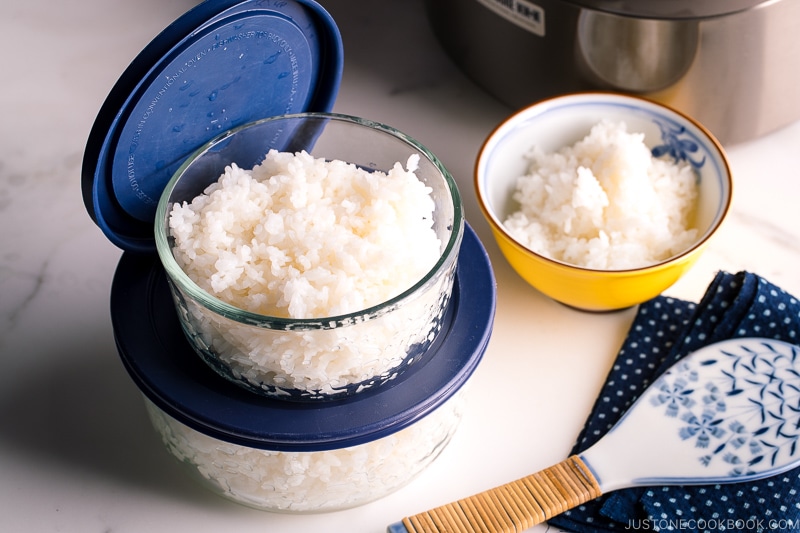
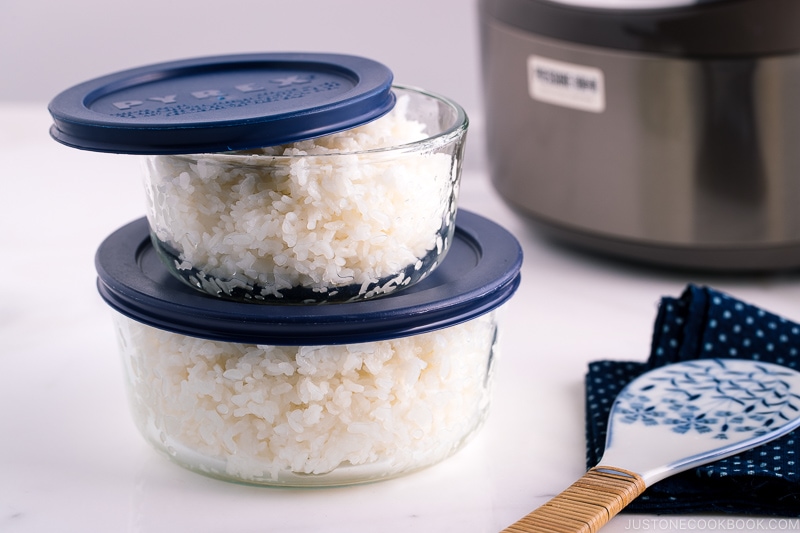
How to Store Cooked Rice
What’s the best method to store cooked rice? Simply freeze the rice in an airtight container and reheat it to enjoy the perfect Instant Pot Rice later on! This is by far the best approach to keeping your rice fresh and moist. Do not keep it in the fridge!
Final Thoughts
With the above methods and tips, you can make perfectly plump and shiny Japanese steamed rice in an Instant Pot. My personal preference is using the manual mode as it’s 10 minutes faster than the “Rice” mode and the texture of the rice was perfect.
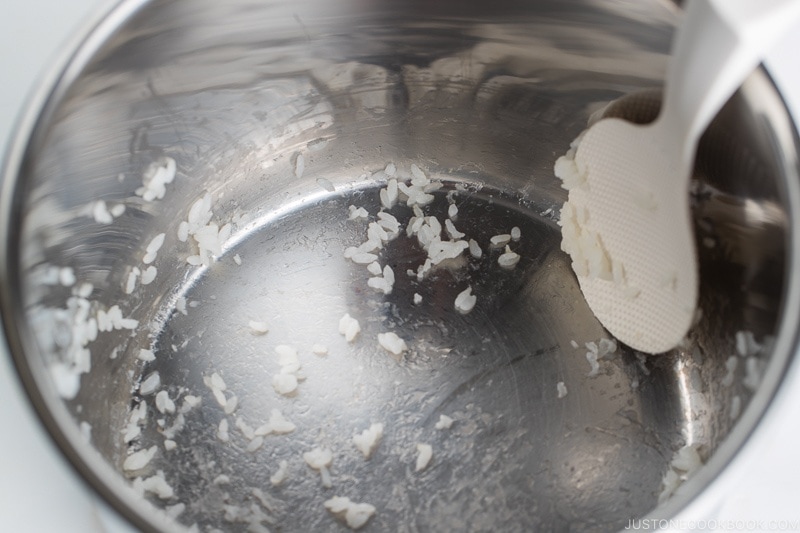
Does the rice stick to the bottom of the pot? Well, surprisingly not when you open the lid right after 10 minutes of natural release. I can fluff up the rice nicely without any question.
The only caveat is that you do have to serve or scoop out the whole pot of rice immediately after it is done cooking. There is enough moisture inside the pot that you can fluff and spoon out the rice smoothly without it sticking to the bottom.
However, if you leave the rice inside the inner pot for some time, the rice sadly sticks due to the starch in the rice. And it’s become a hassle to remove the remnants of cooked rice. You would end up having to soak the inner pot in water. It does come off clean eventually, but there is no way I could save the last piece of rice in the Instant Pot (Update: if you buy this non-stick inner pot, no more waste!).
Would I continue to make rice in the Instant Pot? I would not, because I really don’t like wasting my rice. I prefer to cook the main dish in the Instant Pot and cook rice in the rice cooker. Two important appliances that could go hand in hand.
For those of you who are preparing main dishes with other cooking methods like roasting and pan-frying. you can definitely cook your rice in the Instant Pot. Maybe you don’t cook rice very often and prefer not to invest in a rice cooker. Or maybe you’re cooking a large batch of rice in advance for freezing purposes. Then go ahead to use the Instant Pot. That’s what this post is for, and I hope you find it useful.
Will you cook rice in the Instant Pot? Let me know in the comments below.
Other Rice Cooking Methods
- Cook Japanese rice in a pot on the stovetop
- Cook Japanese rice in a donabe on the stovetop
- Cook Japanese rice in a rice cooker
- Cook Japanese brown rice in an Instant Pot
Wish to learn more about Japanese cooking? Sign up for our free newsletter to receive cooking tips & recipe updates! And stay in touch with me on Facebook, Pinterest, YouTube, and Instagram.
How to Make Japanese Rice in an Instant Pot
Video
Ingredients
For 4 Rice Bowls (4⅓ cups, 660 g)
- 1½ cups uncooked Japanese short-grain white rice (2 rice cooker cups, 360 ml)
- 1½ cups water (360 ml)
For 6 Rice Bowls (6⅔ cups, 990 g)
- 2¼ cups uncooked Japanese short-grain white rice (3 rice cooker cups, 540 ml)
- 2¼ cups water (540 ml)
For 8 Rice Bowls (8¾ cups, 1320 g)
- 3 cups uncooked Japanese short-grain white rice (4 rice cooker cups, 720 ml)
- 3 cups water (720 ml)
For 10 Rice Bowls (11 cups, 1650 g)
- 3¾ cups uncooked Japanese short-grain white rice (5 rice cooker cups, 900 ml)
- 3¾ cups water (900 ml)
Instructions
- Before You Start: Please note that Japanese short-grain white rice requires a soaking time of 20–30 minutes. The rice-to-water ratio is 1 to 1 when cooking short-grain white rice in an Instant Pot. Please read the blog post for more details. To cook short-grain brown rice, see my post on how to make Instant Pot Brown Rice.Also note that 1½ cups (300 g, 2 rice cooker cups) of uncooked Japanese short-grain rice yield 4⅓ cups (660 g) of cooked rice. This is enough for 4 Japanese rice bowls (typically 150 g each) or 6 onigiri rice balls (typically 110 g each). 1 cup of cooked rice weighs about 5.3 oz (150 g).
- Measure the Rice: Overfill a US cup measure (a ¾-cup measure works well for this) or a rice cooker cup with uncooked short-grain rice and level it off. Put the rice in a large bowl. Repeat until you have the measured amount of rice needed. Here, I‘m preparing 1½ cups (2 rice cooker cups, 360 ml) of uncooked white rice.
To Wash the Rice
- Quick Rinse: Add just enough tap water to the bowl to submerge all the rice. Then, discard the water immediately. Repeat one more time. Tip: Rice absorbs water very quickly when you start rinsing, so this step helps remove impurities from the rice and prevent it from absorbing the first few rounds of milky water.
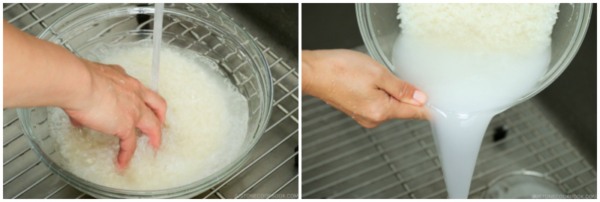
- Wash: Next, use your fingers to gently agitate the wet rice grains in a circular motion for 10–15 seconds. Using very little water allows the grains to rub against each other. It also reduces the absorption of impurities from the starchy water.
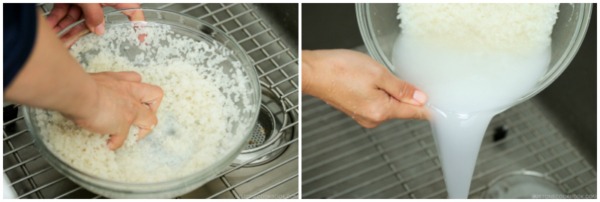
- Rinse: Add tap water and immediately discard the cloudy water. Repeat one more time.
- Repeat Wash and Rinse (steps 2 and 3) two more times. When the water is almost clear, drain the rice well.
To Soak the Rice
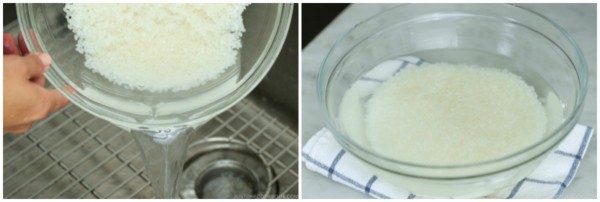
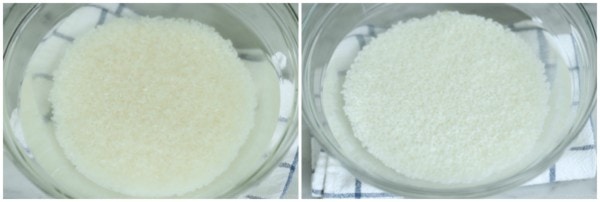
- Soak: Add more tap water to the bowl to submerge the rice completely, and soak the rice for 20–30 minutes before cooking. Soaking is a must for short-grain rice! Here‘s how the rice looks before and after soaking for 20 minutes.
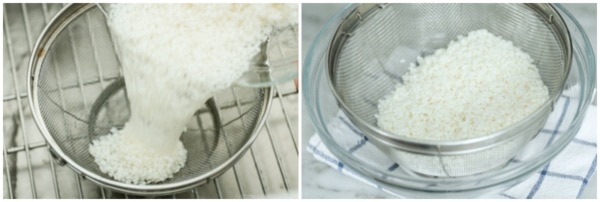
- Drain: After soaking, drain the rice in a fine-mesh sieve and set it aside for 10 minutes to drain completely. If you don’t have time to wait, then shake off the excess water the best you can.
To Cook the Rice
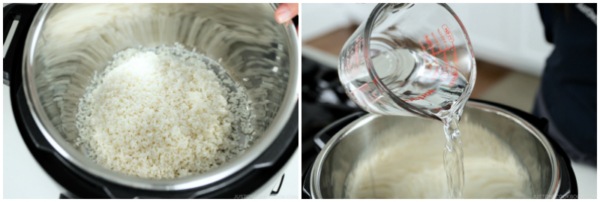
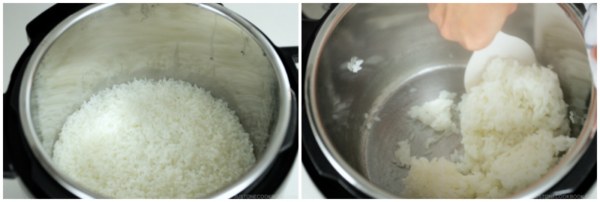
- Transfer the well-drained rice to the inner pot of the Instant Pot and add the measured water. Here, I'm adding 1½ cups (360 ml) water for my 1½ cups rice.
- Make sure the rice is level and evenly distributed in the pot. Close and lock the lid.
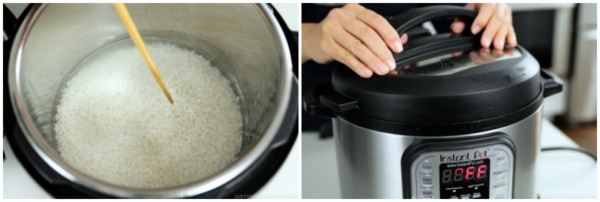
- Set the program to High Pressure for 2 minutes and it will automatically start cooking. Make sure the steam release handle points to Sealing and not Venting. The float valve goes up when pressurized, after about 5 minutes. When it’s finished cooking, the Instant Pot will switch automatically to the Keep Warm mode.Pressure Release: Let the pressure release naturally for 10 minutes. DO NOT EXCEED 10 MINUTES (I recommend setting a timer). After 10 minutes, quick release the remaining pressure: Place a kitchen towel over the steam release valve and turn the steam release handle to the Venting position until the float valve drops down. While only a little pressure should remain after 10 minutes of natural release, please take care not to place your hand or face over the steam release valve.
- Once you‘ve quick released the remaining pressure, open the lid. Fluff the rice with a rice paddle and serve warm.
To Store
- Transfer the warm rice to airtight containers and cover with the lids to keep the moisture in. Let cool completely before storing the containers in the freezer. The best way to store Japanese rice is to freeze, even if you use it the following day. Read my tutorial post.
Notes
- Rice Mode: 5 min (to pressurize) + 12 min (to cook on low pressure) + 10 min (let it steam)
- Manual Mode: 5 min (to pressurize) + 2 min (to cook on high pressure) + 10 min (let it steam)


Hi Namiko, Thank you for sharing all your recipies. I wonder if the cooking time of 2 min manual is the same for making 1 or 2 cups of rice?
Hi Sandra! Thank you very much for trying Nami’s recipe.
Yes, the cooking time would be the same for one or two cups of rice. However, please make sure that you use at least one regular cup size (not a rice cooker cup) of rice and water to cook in most pressure cookers (minimum water amount). We hope you enjoy this approach!
I’m staying with my elderly father and he has an instant pot, but no rice cooker. Great recipe. The rice turned out perfect. I made four cups, and didn’t change a thing.
Hello, Karen. We’re glad this recipe worked out so nicely for you!
Thank you for trying Nami’s recipe and providing feedback. Best wishes, and happy cooking!🤗
Wonderful quick Japanese rice recipe. Worked perfectly the very first time I made it. No need to change anything from the recipe. This combined with the Japanese Curry recipe made the perfect meal!
Hi Carold! Aww. We are so happy to hear you enjoyed Nami’s recipes!
Thank you so much for trying her recipe and for your kind feedback!🤗
Thank you for an excellent article. I have never had a problem with cooked rice sticking to the bottom of my Instant Pot cooking pot because I spray the bottom with cooking spray before adding the rice and water.
Hi Rita! Thank you for reading Nami’s post and sharing your tip with us! 🙂
Worked perfectly for me! Thank you for sharing this method. Moving away from using toxic nonstick cookware so really appreciate this info. Will be using it daily.
Arigatoo!
Hello, Gean! We’re happy to hear you liked the Instant Pot approach.
Here are some additional quick recipes for you. We hope you like them.🙂
https://www.justonecookbook.com/how-i-use-instant-pot-for-japanese-cooking/
Thank you very much for trying Nami’s recipes!
I followed the recipe exactly and the short grained rice came out perfectly! Thank you!
Hello, Renee. Aww. We’re glad to hear that this method worked for you as well.
Thank you for trying Nami’s recipe and for your kind feedback!