These Ume Miso and Shiso Onigiri are my new favorite rice balls! Flavored with a homemade miso blend, julienned shiso leaves, and toasted sesame seeds, they are insanely tasty. You want to bring them for your picnic and potluck, or eat them as a snack anytime of the day!
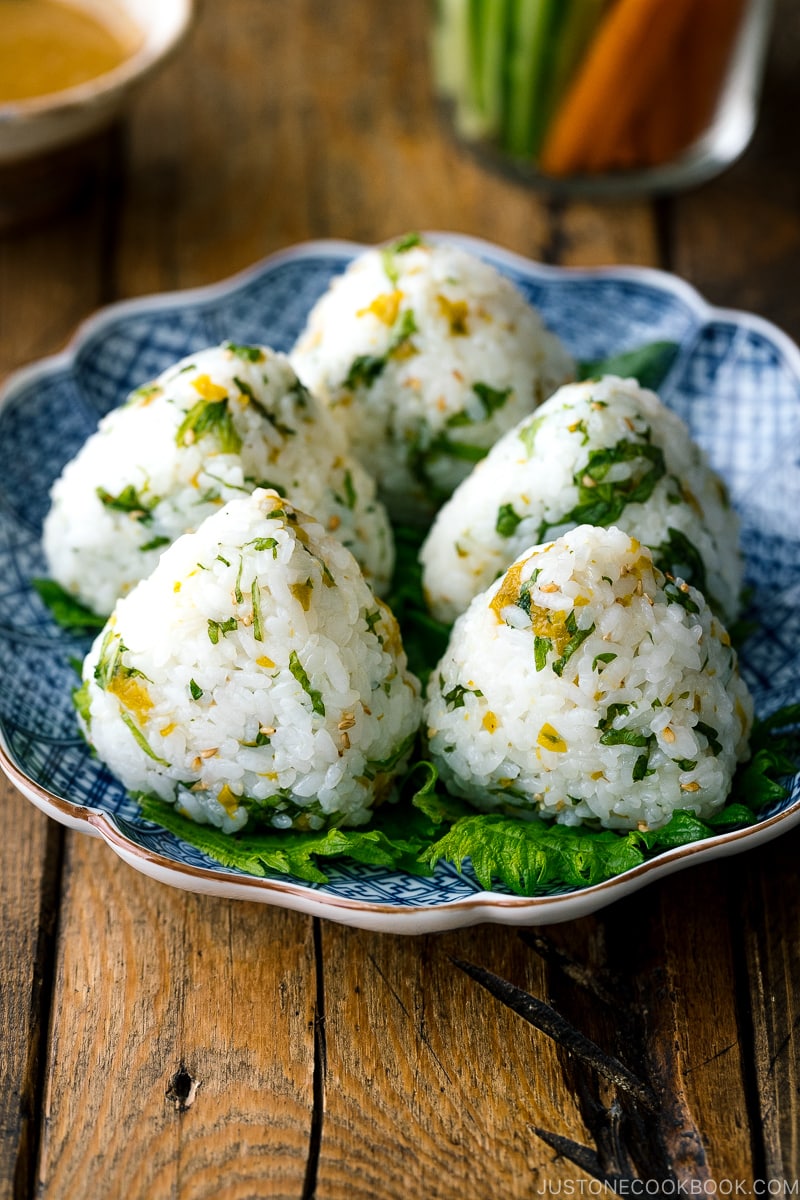
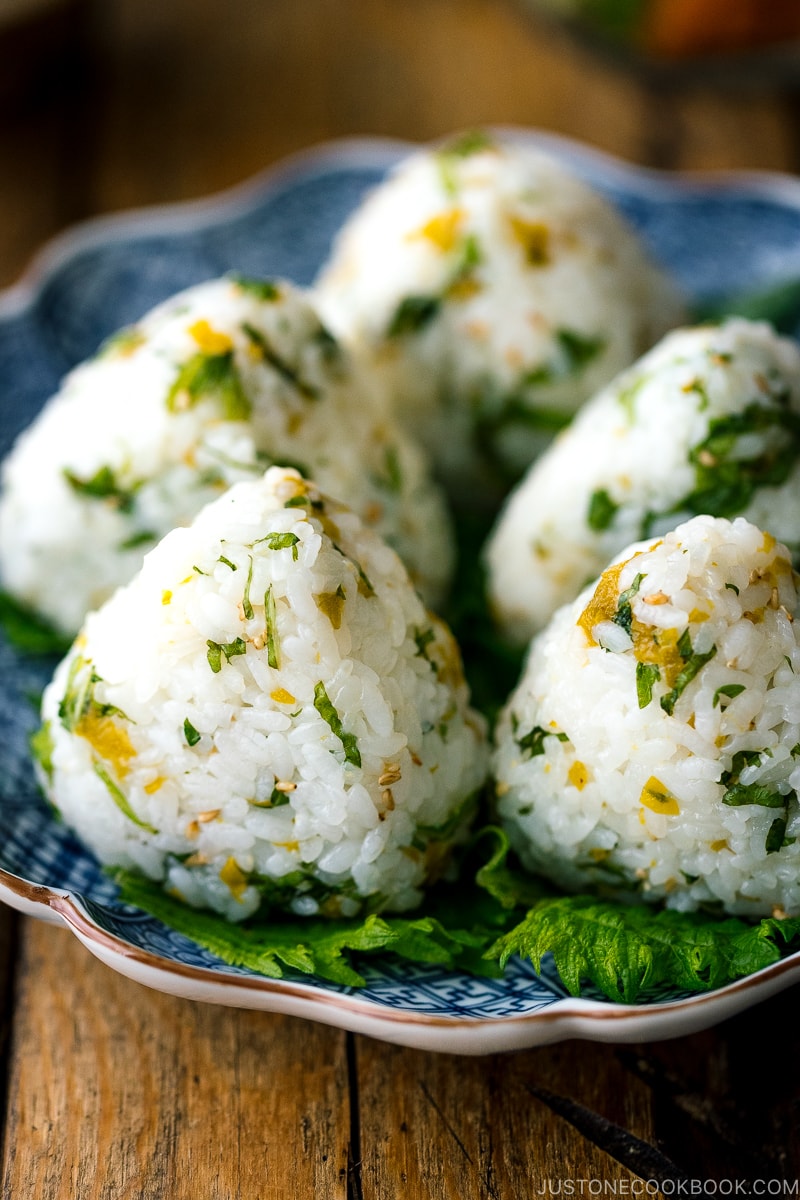
I love making onigiri, Japanese rice balls. They can come plain or with endless varieties of filling. I seriously love them all, but this Ume Miso and Shiso Onigiri (梅味噌と紫蘇のおにぎり) is definitely the best combination I’ve tried yet!
The pillowy rice balls come with zesty umami tang that is distinct, with a touch of aromatic herb imbued with nutty crunch. Perhaps it has to do with the summer heat, I keep craving for them. If you had a chance to make homemade ume miso, you need to try this recipe!
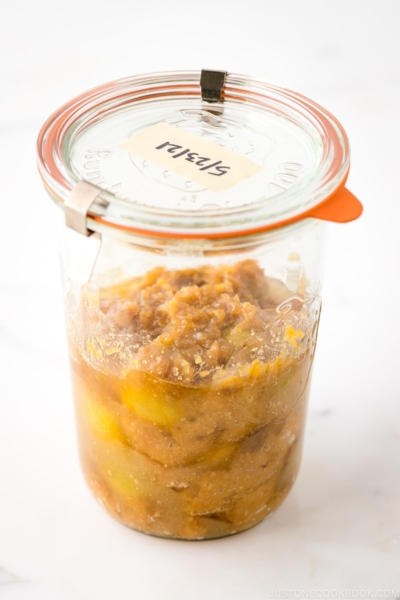
Homemade Ume Miso
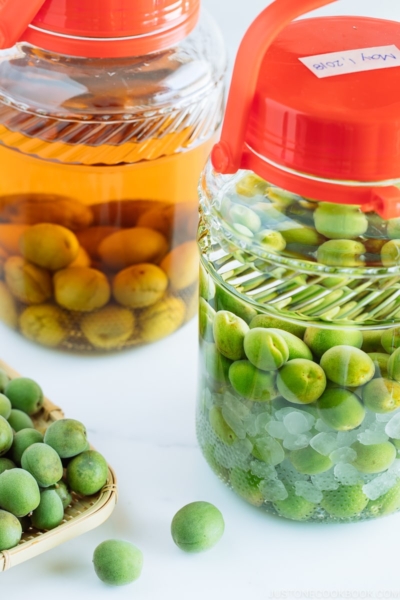
Ume Miso (梅味噌) is a homemade blend of miso that’s made with fresh and tangy green ume plums, sugar, and miso.
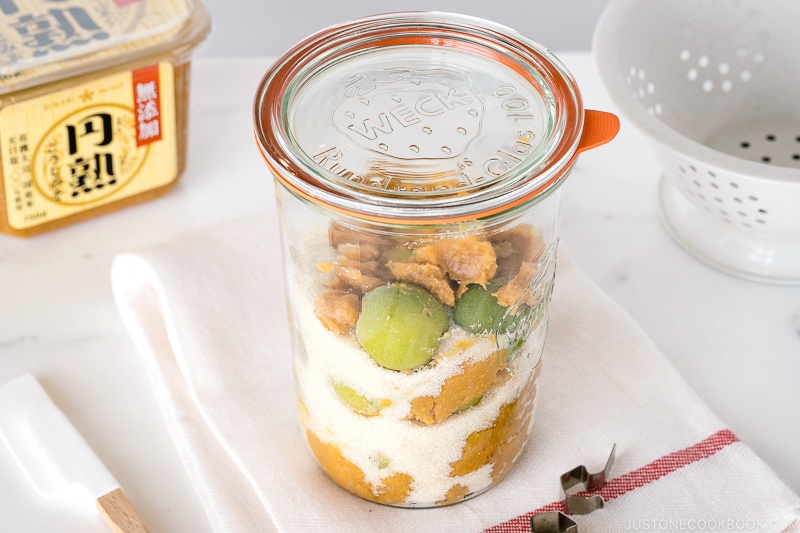
You can make this homemade miso blend with any type of miso you like. I chose one of my favorite miso, Hikari Miso’s Enjuku Koji Miso. This mild miso has a natural sweetness and robust umami of koji. As sugar melts and combine with the miso, it extracts the wonderful essence of ume and floral aroma to the miso blend after being fermented for a month or two.
It’s so so good that I can use it to enhance any dishes, especially in my summer cooking!
How to Make Ume Miso and Shiso Onigiri
Ingredients You’ll Need
- Homemade ume miso
- Shiso leaves
- Steamed rice (must use Japanese short-grain rice; no other kinds!)
- White sesame seeds
Overview: Preparing Steps
- Mix steamed rice with ume miso, shiso leaves, and sesame seeds.
- Prepare a water bowl. Dip your hands in water and rub a tiny amount of salt on your palms.
- Mold into a triangle (or any shape) in your hands and enjoy!
5 Important Tips on Making Rice Balls
1. Use freshly cooked rice
Let the cooked rice cool just slightly before making them. The rice should be warm/hot when you make onigiri.
2. Wet your hands
It’s important to wet your hands with water to prevent the rice from sticking. Prepare a bowl of water next to your working station so you can dip your hands in between each onigiri making.
3. Salt your hands
Dip 2-3 fingers in salt and transfer to your palms to spread all around. Salt helps to keep the onigiri for a longer time (as preservative) and it also enhances the flavors of onigiri.
4. Give just enough pressure
Your hands should be just firm enough when pressing the onigiri so the rice doesn’t fall apart and shape into the typical triangle, ball, or cylinder shapes. You don’t want to squeeze the rice too tight.
5. Use kitchen towel to save for next day
If you want to keep the leftover onigiri, you can wrap the finished onigiri (in plastic wrap) with a thick kitchen towel before you store them in the refrigerator. Rice gets hard and dry in the refrigerator but with this easy trick, your onigiri will be cool enough to stay safe.
What to Serve with Ume Miso and Shiso Onigiri
These onigiri rice balls are light yet luxurious that they are a delight to enjoy on its own. They also make a great picnic food and BBQ side. If you wish to enjoy it as part of your bento lunch or dinner, you can serve the onigiri with:
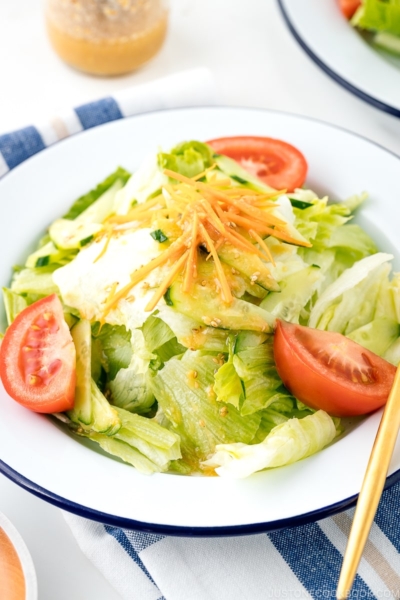
- Quick & easy salads like this and this and this
- Simple miso soup
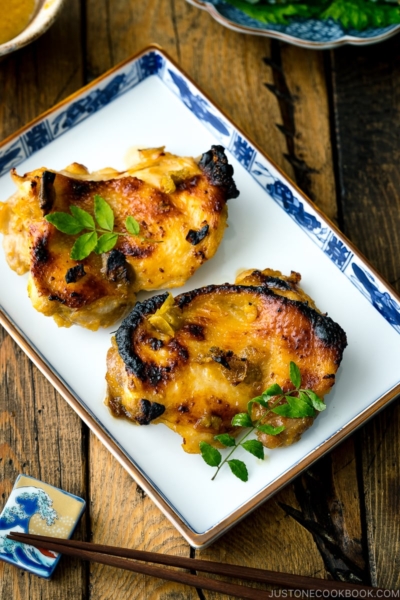
- A side of salmon or grilled dishes
- Sliced fruits or cherry tomatoes
Sign up for the free newsletter delivered to your inbox and stay in touch with me on Facebook, Pinterest, YouTube, and Instagram for all the latest updates.
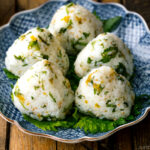
Ume Miso and Shiso Onigiri
Ingredients
- 5 pieces ume from ume miso
- 5 shiso leaves (perilla/ooba)
- 3 cups cooked Japanese short-grain rice (about 19 oz, 540 g; adjust the amount as you like; see how to cook short-grain rice with a rice cooker, pot over the stove, Instant Pot, or donabe)
- ½ tsp toasted white sesame seeds
- Diamond Crystal kosher salt (for shaping the onigiri)
Instructions
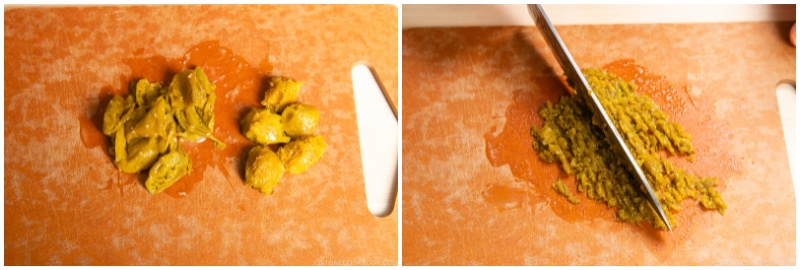
- Discard the seeds from 5 pieces ume from ume miso and mince the flesh.
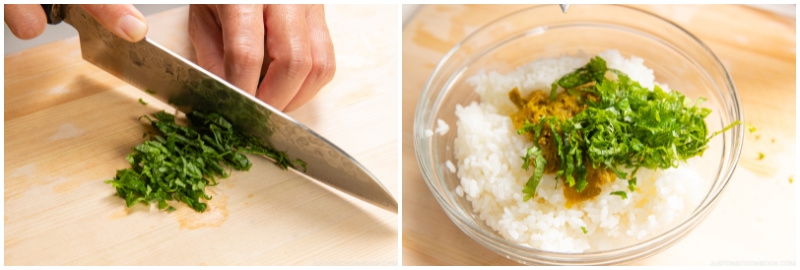
- Roll up 5 shiso leaves (perilla/ooba) and cut them into julienned strips. Add the minced ume and shiso to 3 cups cooked Japanese short-grain rice.
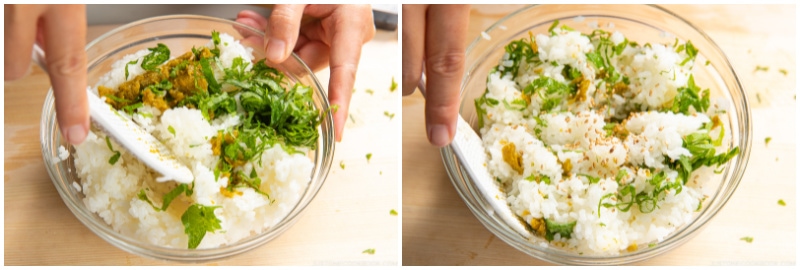
- Add ½ tsp toasted white sesame seeds and combine everything together.
To Make the Onigiri
- First, prepare a small bowl with water. Wet both of your hands with water. This helps preventing the rice from sticking to your hands.
- Dip 2–3 fingertips in Diamond Crystal kosher salt and spread it all around your palms.
- Scoop out a handful of rice into one hand.
- Gently press the rice to form into a triangle shape with your hands. I use three fingers (thumb, index finger, middle finger) to make a triangle corner. Your hands should be just firm enough so the onigiri doesn’t fall apart. You don’t want to squeeze the rice too tight.
- If you have never tried making onigiri, please see my detailed step-by-step tutorial on how to make Onigiri (Japanese Rice Balls). Please read the instructions first before the prep.

To Store
- If you want to keep the leftover onigiri, you can wrap the finished onigiri (in plastic wrap) with a thick kitchen towel to seal in the moisture when stored in the refrigerator. Rice gets hard and dry in the refrigerator. Hopefully, with this easy trick, your onigiri will be cool enough to stay safe.


It make me starving now. Really easy and fast to made it. Thanks for sharing
Hi Susan! Thank you very much for reading Nami’s post and trying her recipe!