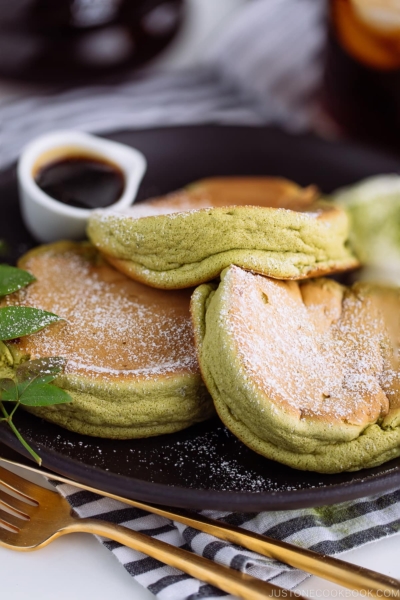
Fluffy souffle accented with green tea powder, this Matcha Souffle is simply irresistible! For a thorough visual guide, I recommend watching the video first.
Making Green Tea souffle has been on my baking bucket list for as long as I remember. Unless you are in Japan, this unique dessert doesn’t normally appear on the dessert menu in your local cafes and restaurants. The only way to taste the incredible warm fluffy texture of souffle accented with the unique bitter matcha flavor is to make your own.
Today, unlike my usual posts, I want to talk about the little struggles I had with this recipe.
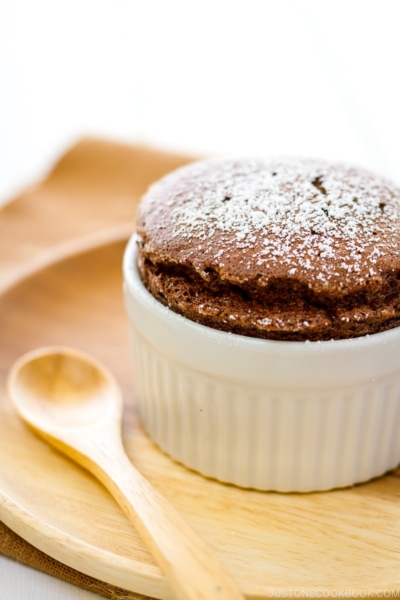
Now if you have attempted to make souffle at home AND tried to take good pictures of it while the souffle is risen up, you know this is not easy to do (unless you’re an experienced pâtissier). No matter how many times I make this souffle, each souffle at every test comes differently. The shot of PERFECT souffle? It’s nearly impossible for this novice baker. After my experience with the Chocolate Souffle, I tried taking pictures of the souffle in the kitchen for the first ones I baked, right out of the oven. This shot was taken after a midnight baking session with my new indoor lights.
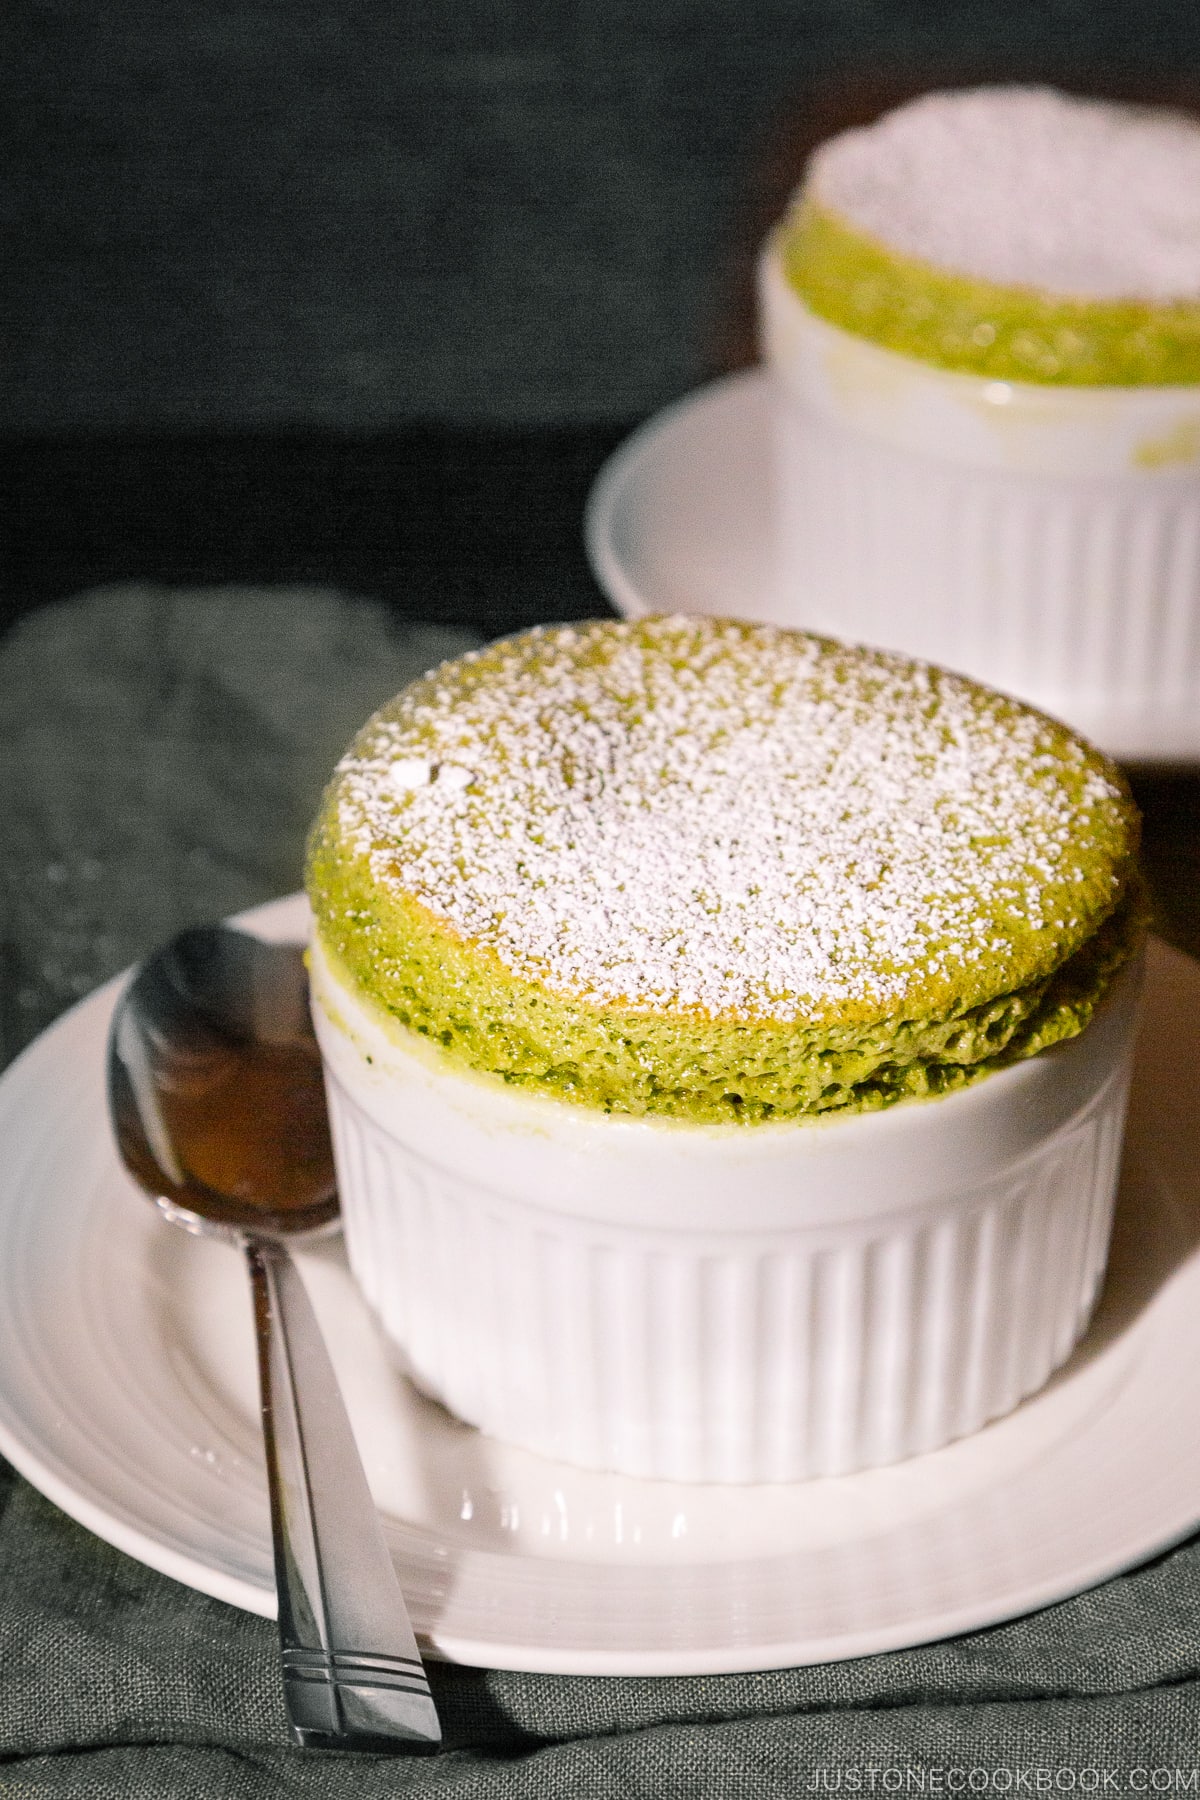
I struggled to capture that moment. The moment when the souffle reached the highest peak. While the green tea souffle was in the oven, I prepared styling, composition, and camera setting… and I thought I was ready. However, when the food gets placed in the location for the camera, there was always something I need to adjust. And every second that goes by, the souffle starts to slowly deflate. This dessert has a mind of its own and doesn’t wait for me.
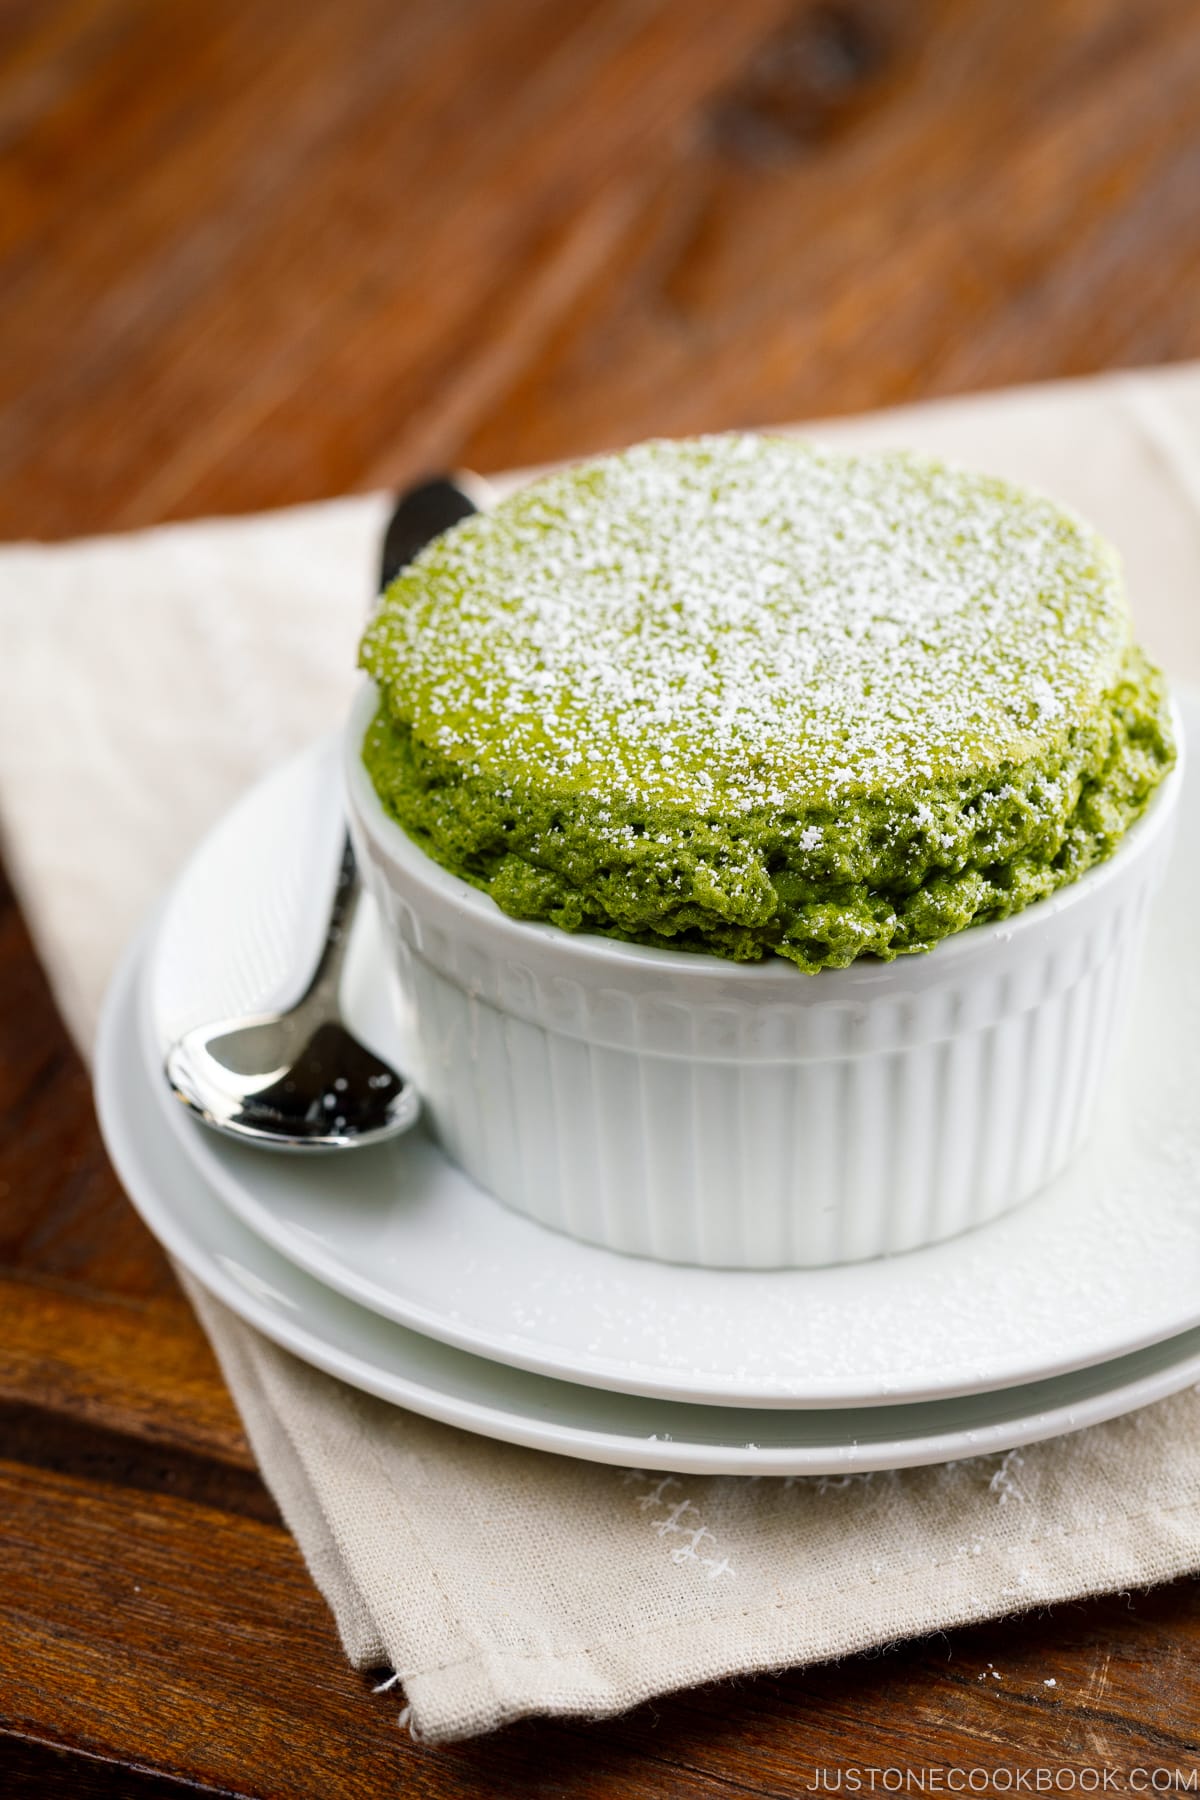
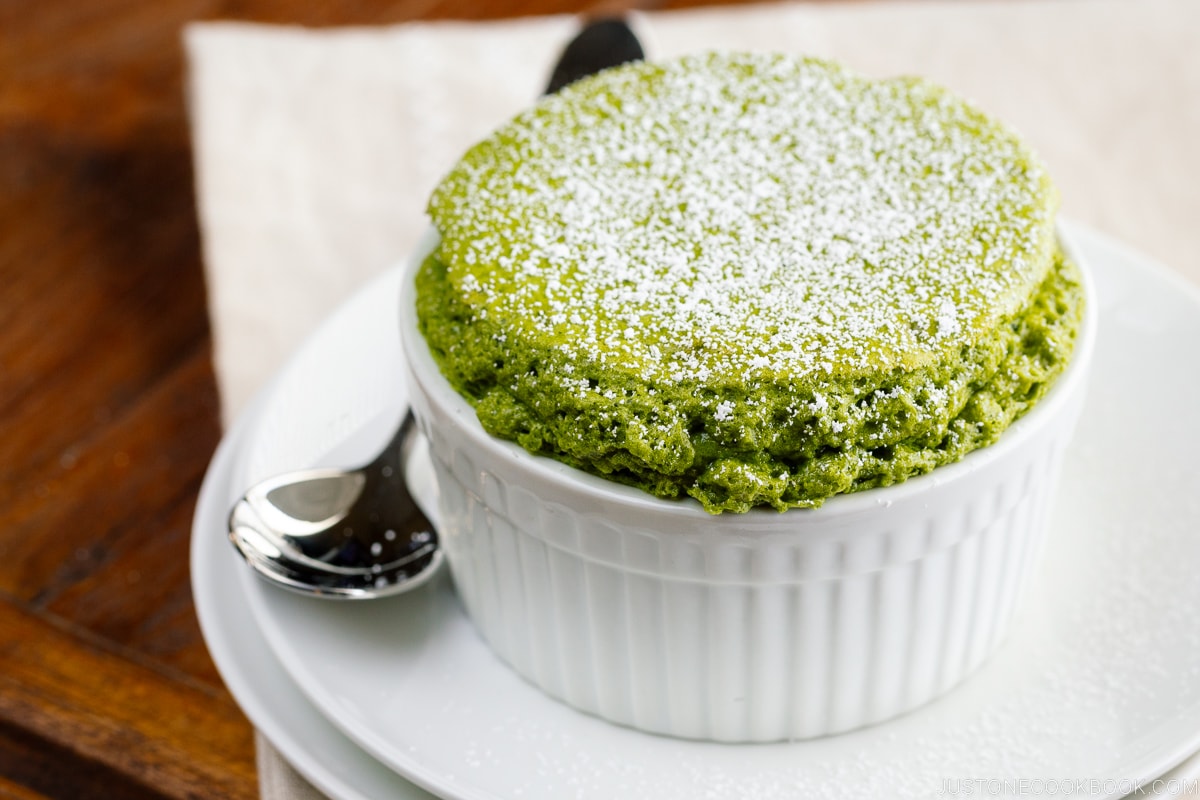
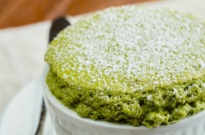
Next time I baked during the daytime and tried it with natural light. I had to run to “the studio” in my living room where I get good natural light. Ran as fast as I could, with the souffle in my hand. Hurry, hurry, click, click, click… And here’s the result I ended up with.

Deflated a little bit. But honestly, this is the best I could do with my current baking & photography skills.
We tested the recipe several times and made several more rounds of scuffles in order to shoot for video and photography. Although we love this green tea souffle very much, if Mr. JOC and I had to eat every single one we would have some serious calories to burn off (Didn’t I tell you I work out 5 days a week? Now you know why!). We fed our friends and relative through the recipe development process and the feedback was really awesome. They all loved it! By the way, if you really love matcha flavor, use 2 Tbsp of matcha as the recipe calls for; otherwise, you can decrease it to 1 Tbsp.
Lastly, I have one important thing to say about this recipe. Use a kitchen scale (highly recommend for perfect results) and follow the recipe as precisely as you could before adopting. For all the recipes in Just One Cookbook, I tested many times until the result satisfies me. This is a simple recipe, yet I’d say it’s not so easy to make it right.
I hope you will enjoy making this Green Tea Souffle recipe! If you try it, don’t forget to share your picture on Instagram, Facebook, or Twitter with #JustOneCookbook. Thank you so much for reading, and till next time!
Wish to learn more about Japanese cooking? Sign up for our free newsletter to receive cooking tips & recipe updates! And stay in touch with me on Facebook, Pinterest, YouTube, and Instagram.
Matcha Souffle
Video
Ingredients
For Coating the Ramekins
- ½ Tbsp unsalted butter (at room temperature)
- 4 tsp sugar
For the Custard
- 3 large yolks
- 2 Tbsp sugar
- 3 Tbsp all-purpose flour (plain flour)
- 150 ml milk
- 100 ml heavy (whipping) cream
- 1–2 Tbsp matcha (green tea powder) (1 Tbsp matcha is 6 g)
For the Meringue
- 3 large egg whites
- 4 Tbsp sugar
For Dusting
- 1 Tbsp confectioners’ sugar
Instructions
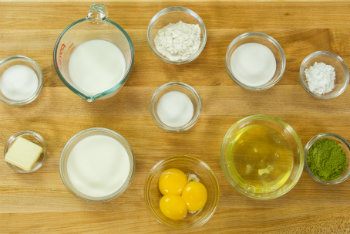
- Gather all the ingredients. Preheat the oven to 400ºF (200ºC). For a convection oven, reduce cooking temperature by 25ºF (15ºC). You will need 4 4 oz (1/2 cup) ramekins.
To Prepare the Ramekins
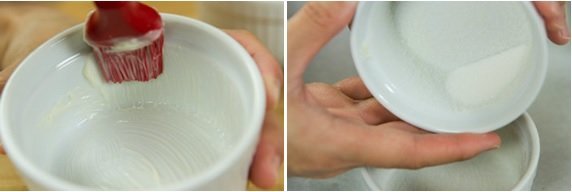
- Brush the ramekins with ½ Tbsp unsalted butter at room temperature, using upward strokes. With 4 tsp sugar, put 1 tsp sugar in each ramekin and rotate the ramekin to dust the insides with sugar. Remove the excess sugar from the ramekin and chill in the refrigerator to set. (This gives the soufflé something to grip onto as the batter climbs up the sides of the ramekins during baking.)
To Make the Custard
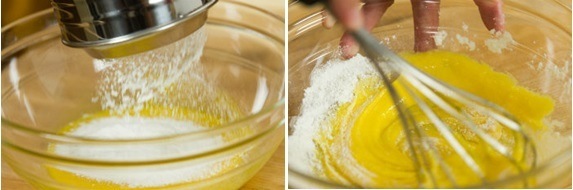
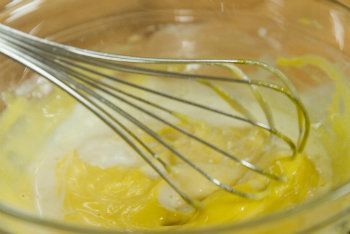
- In a large bowl, beat 3 large yolks and 2 Tbsp sugar together.

- Sift 3 Tbsp all-purpose flour (plain flour) into the egg mixture and mix well.
- Heat 150 ml milk and 100 ml heavy (whipping) cream in a small saucepan until almost boiling.
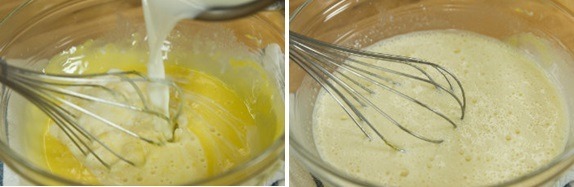
- Add a splash of the hot milk mixture into the egg mixture and whisk well until the mixture is smooth.
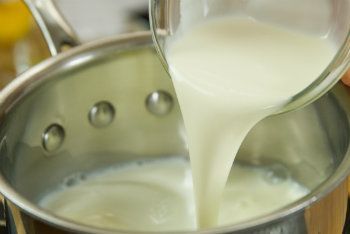
- Then gradually whisk in the rest of the milk mixture.
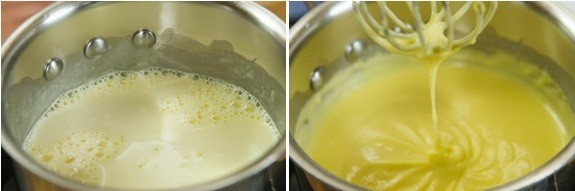
- Pour the mixture back into the saucepan. Whisk the mixture constantly AT ALL TIMES over a medium-low heat for 3–4 minutes until thickened and smooth. KEEP WHISKING during this process; otherwise, your custard will overcook and become clumpy.
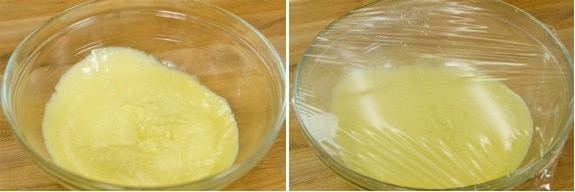
- When the custard has thickened, immediately transfer to a bowl (otherwise the remaining heat from the saucepan will “overcook” the mixture). Cover with plastic wrap and cool to room temperature for about 30 minutes (or you can put it in the refrigerator to make this process faster).
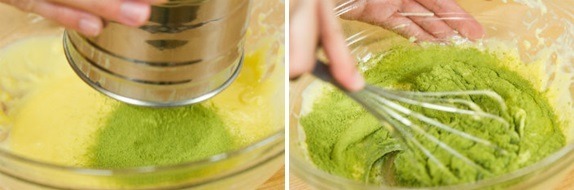
- Once the custard has cool down, sift 1–2 Tbsp matcha (green tea powder) into the custard.
To Add the Meringue
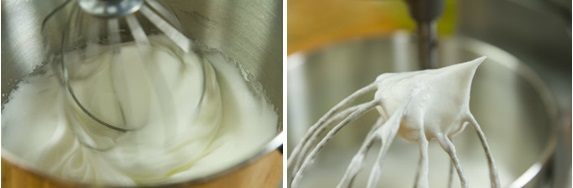
- Whisk 3 large egg whites in a clean bowl until bubbles start to form (Kitchen Aid mixer Level 3 for 2 minutes).

- Gradually add 4 Tbsp sugar, one spoonful at a time. Once you add all the sugar, increase the speed to Level 8 and whisk to make a firm, glossy meringue, about 3–4 minutes.
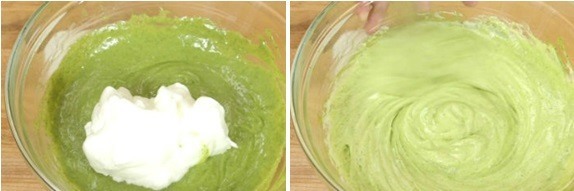
- Whisk one-third of the meringue into the custard and mix until homogenous.
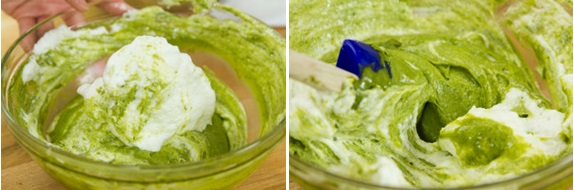
- Very carefully fold in the rest of the meringue using a rubber spatula. Do not overmix.
To Bake the Soufflés
- Divide the soufflé mix into 4 ramekins. Tap them on the work surface to level the mixture and run your thumb around the edge.
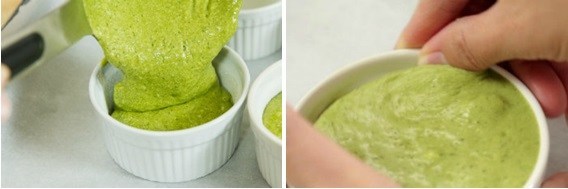
- Place the ramekins on a baking tray and bake for 12–15 minutes until well risen and slightly golden on top. The souffle should wobble gently in the middle when it’s ready.

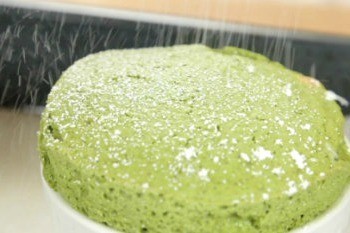
- Dust with 1 Tbsp confectioners’ sugar and place on a plate. Serve immediately.
To Store
- You can keep the leftovers in an airtight container and refrigerate for 2 days.


Hi Nami, can I add the matcha powder with the custard base? I’m thinking it will dissolve better.
Hello, Dana. Thank you for trying Nami’s recipe.
If you would like you can mix the matcha powder into the custard base. It would work, but adding them at the end will ensure a good matcha color.
We hope this was helpful!
Hi there, have you ever made these gluten free? Would Bobs 1:1 work to replace the flour? I have seen other recipes suggesting sweet rice flour, but I don’t have that on hand… what do you suggest?
I also only have 6oz ramekins, should I be making major adjustments or could I just pour less into each ramekin? Thank you!
Hi Katie! I haven’t tried it but I’d like to know how it goes with Bob’s 1:1… if you end up trying, please let me and other GF JOC readers know? And I recommend pouring less, as in general I hate to adjust the baking recipes. Hope you like the recipe!
Hello there. I followed the recipe to the tee but it turned out really wet inside. I think it went wrong at step 8 as I couldn’t get the custard to thicken after I poured it back into the saucepan to whisk. Do you know what might have gone wrong? Please help as I want to reattempt this recipe!
Hi Jessica! Thank you for trying Nami’s recipe!
Did you whisk in the rest of the milk mixture gradually?
Another important point to remember is to continue whisking the mixture throughout Step 8. The cooking time is 3~4 minutes, but you can increase it if necessary.
We hope this was helpful!
I have been so nervous in making soufflés because I’ve heard (and read) of stories of people attempting to make them but the soufflés they make would turn out deflated (or even into a butter cookie!!!). When I came across this recipe, I thought maybe my soufflé would end up the same. I thought my egg yolks (when mixing it with the hot milk mixture) would turn into scrambled eggs and that my egg whites would become over whipped but I appreciated all the tips you provided in this recipe along with the pictures and your step by step tutorial video. My green tea soufflé turned out to be a success and they rose beautifully! It was delicious and it felt like I was biting into a fluffy cloud! I will definitely be making this again. Thank you so much for sharing this!
Hi Janet! We are so happy to hear your Green Tea Souffle turned out well!
Thank you very much for trying Nami’s recipe and for your kind feedback. Happy Baking!😊
Great recipe! Going to try it out this weekend. I had one question, I couldn’t seem to find 4oz ramekins anywhere, so I have some 8oz ones. What adjustments would I need to make in respect to ingredient distribution and cook time?
Hi Geoffrey, If you are using 8oz, you can only make two ramekins. You can double the recipe to make four ramekins.
As for the baking time, We didn’t test them and are not sure of the perfect baking time, but you can try adding ten more minutes to see how it goes.
We hope this works well for you!